5210 Activate a New Service Contract
Assign service provider
Schedule service days
Invoice
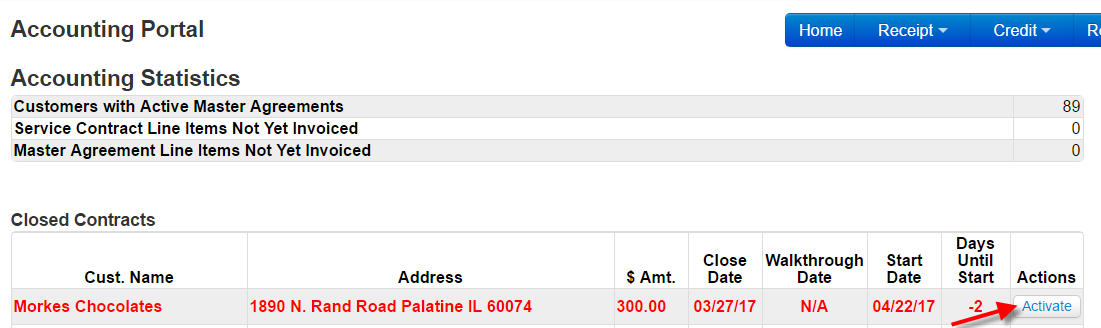
New Customers: When the proposal has been won, the service contract is automatically created. Closed contracts are listed on the Accounting portal with field for a walkthrough and a start date. A closed contract will turn red on this portal the day after the start date indicating it is time to activate the account. This is to assure you have an accurate start date because the start date determines the proration of the charges on the invoice and the payment to the provider.
The following steps need to be taken to assign the service provider, activate the contract and invoice.
1.Click on ‘Activate’ on the Accounting Portal
2.Confirm and/or complete the Start Date information under Operations Summary on that page
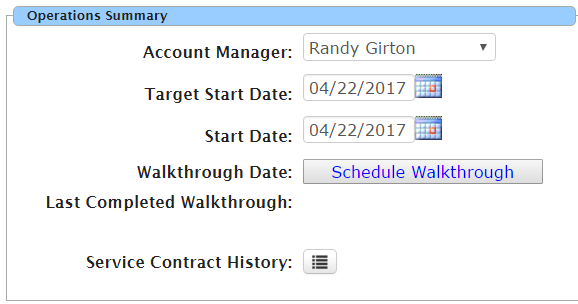
Note: The start date MUST be correct. This date determines the pro-rated charge to the customer and the payment to the provider
3.Click ‘Add’ to view the list of service providers

4.Assign the service provider, click ‘Select’

Note: If you are using a new SP not yet in this list, you must stop and set up the provider before continuing. See Section 2015 ‘How to set up a SP’.
5.Enter the ‘Split Monthly’ amount OR the ’Split %’. Click SCH to select the days of service.

6.Click on the day(s) of the week service will be performed. Click OK

It is critically important that you assign scheduled service days accurately. These scheduled days are used to calculate mid-month start invoices, credits and prorated payment allocation if there is a change in RS$ or service provider. It is imperative that you keep these scheduled service dates accurate and up-to-date.
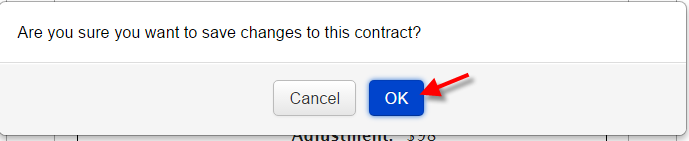
7.Save your entries (at the bottom of the page) and confirm

IF YOUR PROPOSAL INCLUDES A RECURRING SPECIAL SERVICE (i.e. 1x/month carpet clean), it will be listed below the Recurring Services. Repeat the process of assigning a service provider, adding pricing and scheduling service as instructed above for each recurring special service.

Be sure to save all entries

Caution: If you have included and activated recurring special services, the first invoice will charge for the full amount of that monthly special service whether it will be performed that month or not. If this recurring special service will NOT be performed for the first full month, a credit must be issued. For example, the Service Contract begins on the 20th but the recurring special service will be performed on the 15th of each month. A credit must be issued for that 1st month since no special service will be performed that month. See Section 6255 ‘Issue a Credit’.
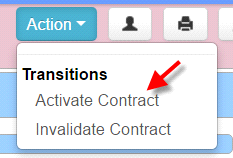
8.From the Action drop down located at the top right, select ‘Activate Contract’
9.You will receive a pop-up detailing the information you entered. Confirm accuracy and click ‘Save’.
Based on the schedule you entered, this will cause a pro-rated invoice to generate and payment to the service provider be scheduled.

Note: If anything is not correct on this screen DO NOT Save. Close out, and start again at the instruction above that relates to the incorrect entry.
10.Return to the Accounting Portal to access and post the invoice.


NOTE: Choose Print or Email as the distribution choice to send the invoice immediately. Do not choose eInvoice as it will delay the invoice until the next First of the Month print process.
11.Click on the ‘Print’ or the ‘Email icon on the Accounting Portal to complete the process

Service Provider is immediately scheduled for payment as shown below.
![]()